A cloudy tank, an oily hanger, and a film on the basket are the three most common reasons a good densimeter gives a bad number.
Densimeters need less maintenance than most shop tools, but what they do need is specific. Water that sits for weeks grows a biofilm, fingerprints leave oil on the basket, and the wrong cleaner can craze an acrylic tank permanently. This guide sets out a simple schedule for water changes, tank and hanger cleaning, and storage, with notes on what to avoid and why.
- Change the water on a fixed schedule, and immediately if it turns cloudy or the basket feels slick.
- Clean acrylic with mild soap and a soft cloth; avoid acetone, ammonia, and abrasive pads that craze or scratch the surface.
- Oil and residue on the hanger or sample cause bubbles and uneven wetting, which show up as low or unstable readings.

Water schedule
Decide weekly or per-shift water changes and write them on the tank lid or a log sheet.
Safe cleaners
Mild dish soap, soft cloth, and a distilled rinse protect the tank and the hanger.
Hanger inspection
Bent wires and corroded joints change the tare, so look for damage during every clean.
Storage
Cover the tank when idle to keep dust, insects, and air-borne oils out of the water.
Water, residue, and the cleaning cycle
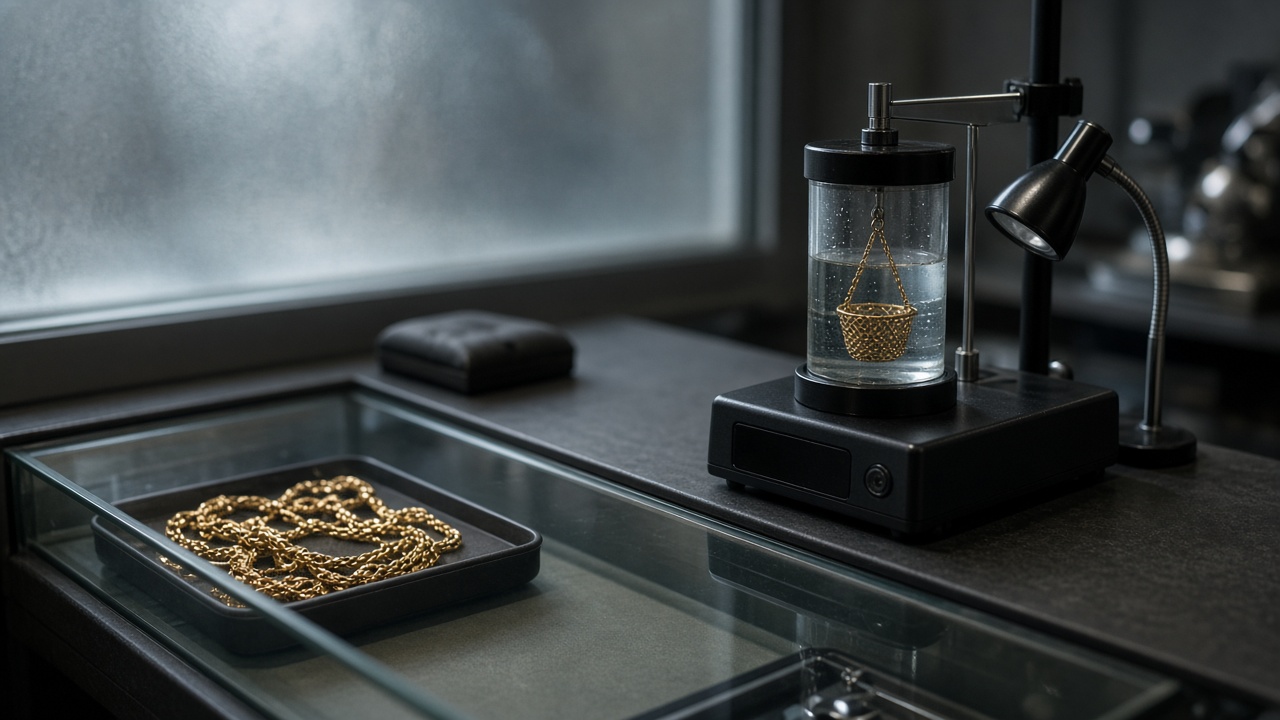
Water is the first maintenance item. Even distilled water picks up dust, skin oils, and microscopic organisms once it sits open on a counter. Within a week or two it can develop a faint film or cloudiness that clings to the basket and samples. That film changes how bubbles form and cling, which is the usual cause of readings that drift lower over the day. Pick a schedule that matches your volume, such as every Monday or every couple of days for busy pawn counters, and change the water sooner if it looks cloudy or smells off.
When you drain the tank, wash it with a few drops of mild dish soap in warm water and a soft cloth or sponge, then rinse several times with distilled water. Dry with a lint-free cloth so no residue remains. Clean the hanger and basket in the same way. Avoid acetone, window cleaners, and anything containing ammonia, which can craze or cloud acrylic, and avoid scouring pads that leave micro-scratches where bubbles later cling. Refill with fresh distilled water and let it settle before running the calibration weight.
Hanger, basket, and sample care
The hanger and basket do the real work, so inspect them each time you clean. Look for bent wire, loose joints, corrosion, and any residue where the sample sits. A hanger that is slightly bent can touch the tank wall or hold the sample at a different depth, which shifts the water weight. Replace parts that are damaged rather than straightening them repeatedly. Handle the basket by the upper section so skin oil does not reach the part that sits under the water.
Samples bring their own contamination. Polish compounds, lotions, and cleaning chemicals on the item can wet the water surface and generate stubborn bubbles, so wipe pieces with a clean cloth before they go in. A single drop of wetting agent is a common shop trick to reduce bubbles, but if you use it, add the same amount every time and calibrate with the same water, so the effect stays constant. Never use water that has been sitting beside the machine for days to top up a clean tank.
- Cover the tank when not in use.
- Log every water change with the date and initials.
- Re-run the calibration weight after any deep clean.
Maintenance schedule
The schedule below fits most counters. Increase the frequency during busy seasons or when you test many oily or newly polished items, and always record the maintenance, including who did it and what you saw in the water, so you can trace changes in readings later.
| Task | How often | Notes |
|---|---|---|
| Wipe tank exterior and lid | Daily | Soft cloth only |
| Change tank water | Weekly or sooner if cloudy | Distilled only |
| Wash tank and hanger | Every water change | Mild soap, distilled rinse |
| Inspect hanger and basket | Monthly | Replace bent or corroded parts |
| Calibration weight check | After cleans and monthly | Log the result |
Recommended densimeters for this workflow
| Product | Best for | Price tier | Editor view | Amazon |
|---|---|---|---|---|
| RODIETO 600 g Gold Purity Densimeter | Pawn and mixed jewelry intake with heavier solid chains | Value | Editor assessment: Strong | Check Latest Price → |
| CUTANGELAR Densimeter Kit (Printer Option) | Desks that want a printed karat/density slip | Value | Editor assessment: Solid | Check Latest Price → |
Best Value / Best for Pawn Capacity
RODIETO 600 g Gold Purity Densimeter
- Best forPawn and mixed jewelry intake with heavier solid chains
- Price tierValue
- Editor viewEditor assessment: Strong
Best for Printed Customer Slips
CUTANGELAR Densimeter Kit (Printer Option)
- Best forDesks that want a printed karat/density slip
- Price tierValue
- Editor viewEditor assessment: Solid
Best Value / Best for Pawn Capacity
RODIETO 600 g Gold Purity Densimeter
Key takeaways
- 600 g headroom for pawn-weight solid chains
- Shop-class 0.001 density without lab pricing
- Confirm seller, accessories, and exact capacity
Pawn and mixed jewelry intake with heavier solid chains
You need Japan-brand prestige more than usable capacity
Quick snapshot
Pros
- 600 g headroom covers most solid chain intake
- 0.001 g/cm³ density resolution is the shop-class sweet spot
- Karat / purity / density in one workflow
- Usually ships as a complete tank + hanger kit
Cons
- Generic brand—seller quality and support vary
- Listing titles can be noisy; you must confirm exact capacity
- Not a tungsten-proof bar tester on its own
- Lower brand recognition if ownership wants “made in Japan” optics
Why we picked it
Why it earns the badge
RODIETO’s 600 g class is our best value pick because capacity is the feature that actually saves pawn and mixed jewelry desks from buying twice. A beautiful 300 g branded unit that cannot weigh your heaviest regular chain is a failed purchase—no matter how clean the karat UI looks in the product photos. This kit targets the real workflow: solid scrap, solid chains, fast karat/density/purity screen, and a complete tank + hanger setup so you are not hunting accessories after the box arrives.
Who it is ideal for
Ideal for pawn shops, mixed jewelry buyers, and scrap desks where solid intake regularly lands between 200 g and 500 g. The 0.001 g/cm³ density resolution is the shop-class sweet spot: fine enough for solid karat banding without paying lab-SKU prices. Managers also get a second number (density or purity %) when karat mode looks off, which helps when a second staffer re-checks a disputed piece.
Who should skip it
Skip it if brand prestige is a boardroom requirement—“made in Japan” optics matter in some retail ownership conversations—or if you only ever buy light rings under ~150 g. In that lighter jewelry-only case, a 300 g premium unit may feel cleaner on a glass retail counter and leave more budget for training and distilled-water discipline. Also skip any densimeter as a standalone answer for bullion bars you suspect are tungsten-filled; density alone will not settle that fight.
What real buyers get wrong
Cross-check Amazon seller ratings and the in-box list (scale, tank, hanger, power, any claimed printer) before you checkout. Across generic 600 g densimeter listings, the honest low-star complaints cluster around missing English instructions, accessories that were pictured but not shipped, confusing multi-SKU titles, and buyers who tested hollow or gem-set jewelry then blamed the machine. Those are avoidable with a pre-purchase checklist: confirm capacity on the live listing, screenshot the accessory list, decline hollow/gem-set pieces at intake, and treat the result as a first pass. Do that, and a value 600 g kit like this becomes the workhorse most pawn desks actually need.
Key specs → desk benefits
600 g capacity
Fewer “piece won’t fit” moments on pawn days when solid chains run heavy.
0.001 g/cm³ density resolution
Fine enough for solid scrap karat banding without paying lab-SKU prices.
Karat + purity + density display
Managers can spot-check a second number (density) when karat mode looks off.
Best for Printed Customer Slips
CUTANGELAR Densimeter Kit (Printer Option)
Key takeaways
- Specialty pick when printed slips matter
- Lock capacity + printer inclusion before checkout
- A slip documents a screen—not a fire assay
Desks that want a printed karat/density slip
You will not use a printer and hate multi-SKU listings
Quick snapshot
Pros
- Optional thermal printer for customer-facing slips
- Multiple capacity/resolution configurations
- Helps managers keep a paper trail of the screen
- Covers gold and platinum-style readouts on many configs
Cons
- Easy to order the wrong capacity SKU
- Printer adds cost and another thing to maintain
- A slip is not an assay certificate—set customer expectations
- Listing complexity frustrates rushed buyers
Why we picked it
Why it earns the badge
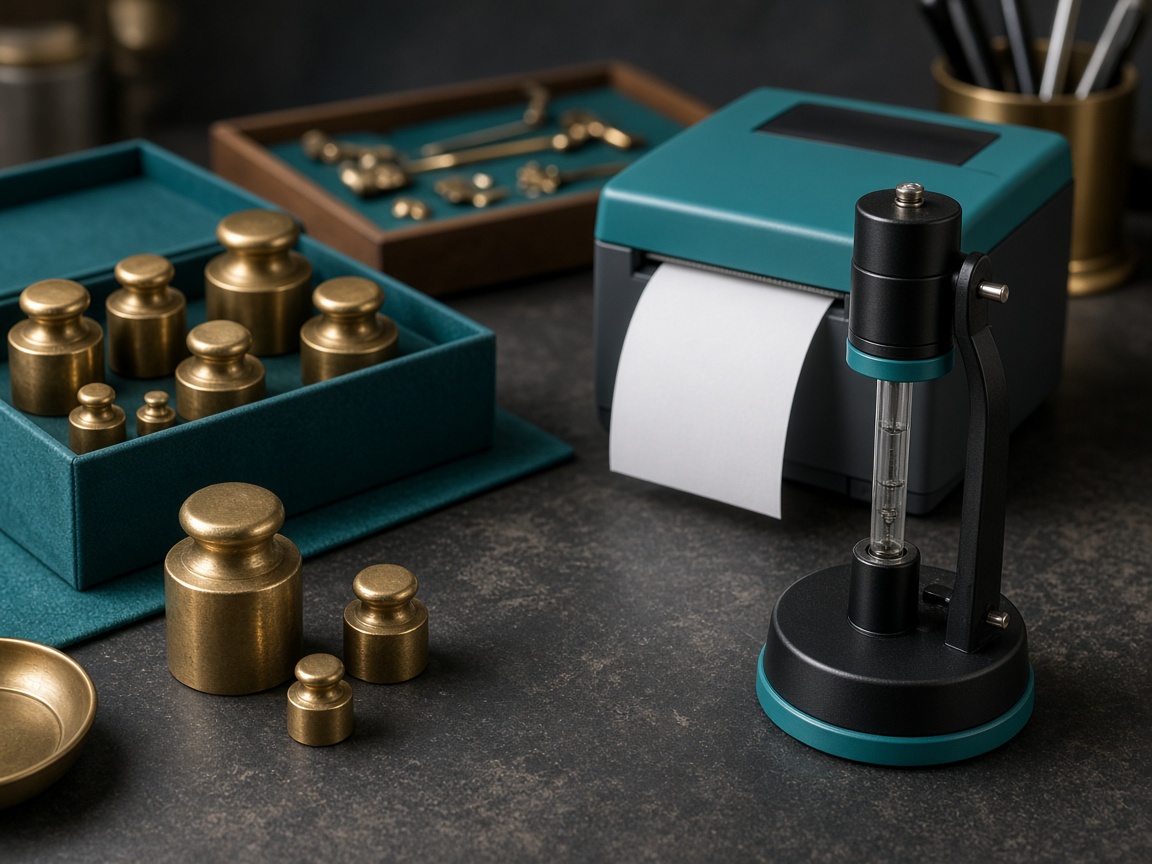
Choose CUTANGELAR-style kits when printed slips are part of the customer experience—pawn counters, some retail trade-in desks, and multi-location shops that want a consistent brand family with optional thermal printers. A printed karat/density slip will not turn densimetry into an assay lab, but it does give managers a paper trail during disputes and helps staff show the customer what the machine displayed without relying on memory alone. That is a real operational benefit when expectations are set correctly.
Who it is ideal for
Ideal for managers who want documentation, desks that already know they will use a printer weekly, and shops standardizing on one product family while picking 300, 600, or 1200 g per location. The flexibility is both the feature and the risk: multi-SKU listings make it easy to order the wrong capacity or resolution. Lock capacity, weight resolution, density resolution, and whether the printer is included before you click Buy—screenshot the Amazon option you selected.
Who should skip it
Skip it if you want the simplest possible Amazon order with one unambiguous SKU, or if nobody on the desk will actually use a printer. Paying for print hardware you ignore is a common regret. Also skip it as a “budget miracle” if the listing is confusing; a clearer single-SKU 600 g kit may save more money through fewer wrong orders than a slightly lower sticker price.
What real buyers get wrong
Across printer-option densimeter reviews, the sharpest complaints are predictable: no English instructions, printer pictured but not in the box, cheap-feeling build relative to the photo, and seller support friction on returns. Those are shopping problems more than Archimedes problems. Mitigate them by buying from sellers with strong recent feedback, confirming the accessory list in writing, and training staff that the slip documents a first-pass density screen—not a certified purity result. When you need printed customer slips and are willing to shop carefully, this family is the right specialty pick.
Key specs → desk benefits
Optional thermal printer
Lets you hand a customer a record of the densimeter screen during disputes—without claiming it is a lab assay.
Multi-capacity family
You can standardize on one brand family while picking 300, 600, or 1200 g for each location.
Buying decision
Confirm the listing includes spare hanger parts and the calibration weight.
FAQ
Can I use vinegar or glass cleaner on the tank?
Avoid glass cleaner, which often contains ammonia and can craze acrylic. If you need to remove scale, check the manual first and rinse thoroughly with distilled water.
How often should I change the water?
Weekly is a sensible default. Change it sooner if it looks cloudy, smells odd, or the basket feels slick, and during heavy use days.
Should I add soap to the water to prevent bubbles?
Some shops add one small drop of wetting agent. If you do, use the same amount every time and calibrate with that water so the effect stays constant.